Unit 5 2.1 2.2 2.3 2.4 3.1 3.2 3.3
I find myself playing catch up as I missed the first week of term due to illness. Fortunately, week two kicked off with a refresh of portrait lighting styles, so I wasn’t totally in the dark – but if this seems a bit frazzled it’s because I’m not at all sure what I am doing yet…
The Four Basic Lighting Patterns…
Butterfly: the main light is positioned straight on to the model’s face (typically slightly above the subject, so the light is cast downwards, although the height can be increased) which creates a butterfly-shaped shadow under the model’s nose and bottom lip. A very even, fairly flat, low-shadow lighting style that is universally flattering; Butterfly is hugely popular in beauty photography and portrait work. It is also referred to as Paramount lighting, as it was well-used by the Hollywood studio in its heyday and much-loved by its image-obsessed stars.
Loop: By shifting the light slightly off centre (from the butterfly set-up) you get what is known as Loop lighting. This slight change in angle creates a small loop of shadow down and under the side of the subject’s nose furthest away from the light-source while leaving the side of the face nearest to the lighting source in full light. Loop adds gentle shadows to one side of the face while leaving the other in light. A useful casting tool for its dual-aspect effect, it’s a favourite lighting style for actors’ and models’ z-card headshots.
Rembrandt: Named after the old-master himself, by adjusting the light even further to the side than in loop setting – so that it sits at 45° to the model and casts its light down at 45° – the shadow cast by the far side of the subject’s nose joins that of the shadow cast by the far side cheekbone. This leaves a triangular patch of light below the subject’s eye furthest from the camera. The effect is quite dramatic and austere. Good for character shots. (The only drawback is it is hard to achieve if your subject has a smaller, flatter nose!)
Split: The main light is aimed directly at the side of the model’s face, so that only one side of the subject is in the light and the other is in shadow. Again, a dramatic style, useful for adding character to shots.
Sharp, bright and light shots = high key.
Dark, sultry, shadowy shots = low key.
CLASS STUDIO WORK
We practised in class with the above set-ups, using shutter speeds of 1/100; aperture of 5.6 and ISO of 100. First, we had to add infrared flash-triggers to our own cameras, so that the lights would fire when we took a shot. (I had to access the Flash Control menu on my camera and select Flash Firing Enable for it to work.)


With so many of us shooting at the same time, sometimes the flash did not have time to recharge and fire (usually because someone else had pressed the shutter just that split-second before I did, firing the flash for their shot and “stealing” it from mine, and vice versa).


We worked, initially, with just a single softbox placed a few feet from the model’s face and used both black and white backgrounds. By upping or lowering the light we were able to see just how much the background colour could be manipulated by adding or reducing light. It was interesting to see how black could become grey – even light grey – and vice vera. In order to get a truly white background, even when using a white backdrop, we had to add two barn doors as backlights – one close to the background on the left of shot; the other half way between the background and softbox on the right of shot. Without them, the white background appeared grey; although this could be reduced hugely by choosing a slower shutter speed to allow more light in.


Indisputable lighting fact number 1: The higher the aperture, the more light you need. If your light is at max and that’s still not enough, move it closer to your subject.
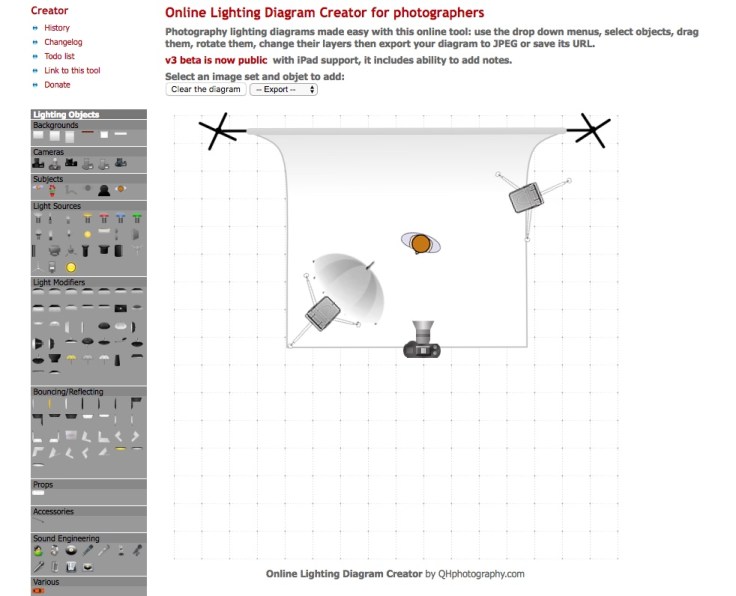
The biggest newbie-mistake I made was not taking photographs of the actual setup that we used. Doh. Instead, I made a rough sketch in my notebook. Photos would have been much easier to understand! Various apps exist to plan and log lighting setups, such as Lighting Diagram Creator and Photo Studio Light Setup for IOS. I am going to investigate these in due course.
(Zig advised that if we are ever doing a studio shoot in a small space, the best/easiest background to manipulate and get good results from is grey. This is because of how much white light bounces – so in a small space, a white background can be very difficult to work with.)


Something else I noticed was that lots of my shots were a bit soft. Sometimes I think I simply wasn’t steady enough when taking them, but I do also wonder if – by autofocusing on the subject’s eye – the f/5.6 depth of field didn’t extend far enough forwards. As a rough guide, DOF extends 1/3 before the point of focus and 2/3 after it – so maybe I should have focused on a nose or a cheek, instead? I will have to ask Zig for his advice.
Having been decidedly “meh” regarding the idea of a term of studio photography, last week’s class came as a really unexpected but welcome surprise. I’m looking forward to this evening’s far more than I figured I would.


Unit 5 2.1 2.2 2.3 2.4 3.1 3.2 3.3
LikeLike