Unit 2: 1; 2; 2.1; 2.2; 2.4
For the past few weeks in class, we’ve been faffing about, trying to get our heads around photoshop. It has not been easy. Frankly, the thought of trying to make sense of my notes from these classes, let alone write them up, has turned me into a Grade-A procrastinator. I would rather clean the loo than do what comes next… I have. Repeatedly. It now sparkles. But there is only so many times a woman can don rubber gloves before she yells, “Enough”. So here goes on what is very much a work in progress:
TOOLS BAR: Down righthand of screen. Each tool has different options. Fantabulous.
SELECTION TOOLS
LASSO TOOL – so called because it looks like a lasso. No shit. You use it for freehand selection of the area that you want to adjust. As you will later feather in the adjustment, you don’t have to be especially precise.
QUICK SELECTION TOOL – looks like teeny paintbrush with little dotted oval around the tip. Make a selection by finding and following an outline. Good for obvious outlines. Or turn it into the…
MAGIC WAND TOOL to select similarly coloured (or toned) areas. Good for if you’ve got something finickity that you want to change. You can alter the tolerance if it picking up too much (or not enough). And if you want to selct only in the area that you click on – so the blue, say, on someone’s jumper but not the blue of the sky, click the contiguous button. Both of these will be top of Photoshop screen once you have selected the magic wand itself. Once you’ve selected the area you want to change, select the adjustment you’re after and adjust away.
PANELS: Notes say palettes. I’d call them panels. Maybe I wrote that down wrong? Either way, there are different ones of these, too. 3 most important to begin with are:
SQUARES = HISTORY = easy way to undo stuff.
ADJUSTMENTS = of which there are many different sorts
LAYERS = you create new ones for each adjustment/adjustment type. Basically, Photoshop is like a giant club sandwich that you build up, bit by bit, to create a whole new thing. That may or may not be palatable by the end of it.


ADJUSTMENTS: Of which there are numerous…
CURVES = like a histogram. Depending on point of curve being adjusted, you can increase or decrease Black – Shadow – Highlight – White (working on curve from left to right) by adjusting the curve points.
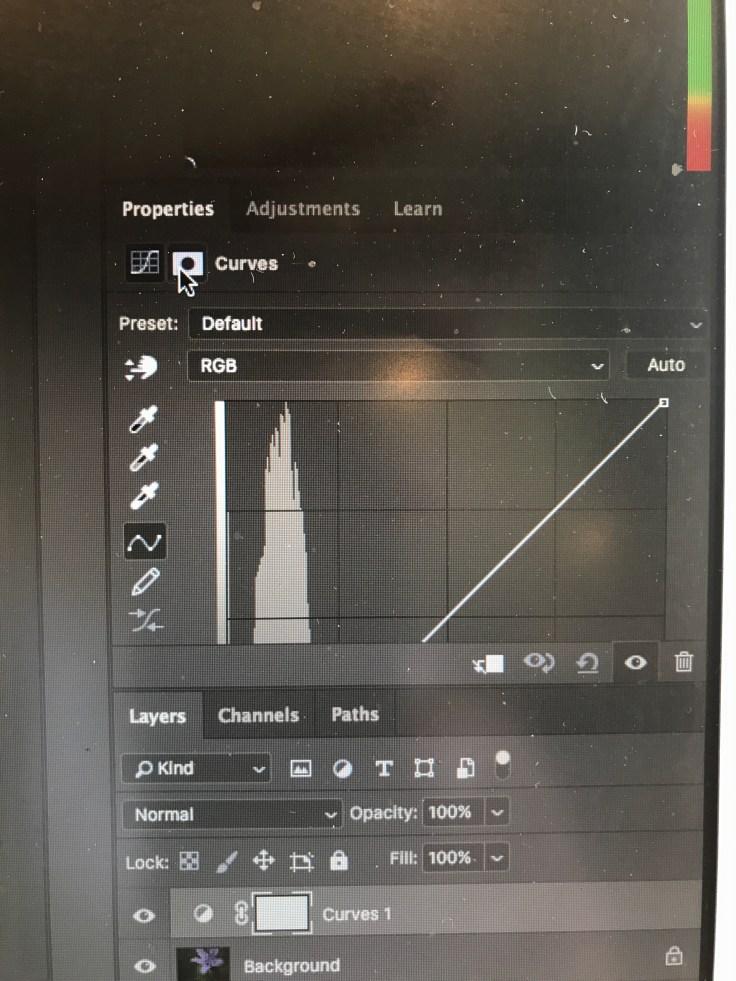
S-shaped curves tend to improve images and help colours pop. The more pronounced the S, the louder the pop. Although overdo it and it will be more an implosion than a pop.
According to my notes, to create a “negative” of a shot, you can lower the white right down. Lord knows how that works though as I’ve tried and failed. What you can do, though, is just click the Curves Preset tab and select negative. And that works like a dream.
FEATHER = this is a little white box with a dark circle in the middle (think Japanese flag). Click on this to blend in each adjustment.
THE COLOUR BUTTONS – FIRST 3 ON 2ND ROW OF ADJUSTMENTS
HUE/SATURATION ADJUSTMENT = change hue/colour; saturation/depth and lightness by dragging on the various sliders. Below the sliders are two colour horizontal colour lines. The top one represents how the colours were previously. The bottom one shows the corresponding changes made.
COLOUR BALANCE – changes temperature. Usually done in Raw, but can tweak in Photoshop if needs be. Use to correct shadows, midtones and highlights. Highlights are usually cool. (EH?) Shadows tend to take on colour of surrounding light. Also have option of ticking box to preserve luminosity (highlights).
BLACK AND WHITE: Fewer sliders than camera raw (which also has a split tone) but used with quick select tool, this makes for an easy way or clearing or whitening a mucky background. Like the filthy backdrops at college.
RETOUCHING:
SPOT HEALING TOOL (which looks like a bandaid with a handle) = use to get rid of actual blemishes (spots and wrinkles) or dust on sensor marks.
Choose brush size from top left corner.
Remember, brush size, hardness (of edge of brush) and opacity/density will determine how harsh the overal “heal” is.
Use softer brush to feather the edge of the adjustment more.
The smaller the brush, the harder the edge will appear – and vice versa. So if you’re going for a softer heal, better to use a bigger brush (zoom into shot if needs be).
Opacity = how much paint is on the brush. Sometimes better to layer lower opacity and build up the heal, than just go in heavy-handed from the start.
For spot removal, the size of brush is the most important element.
Use [ ] square brackets to increase and decrease brush size.
Don’t use in areas of high contrast.
WRINKLES = use the spot healing but reduce the opacity so as to just soften them, versus wipe them out completely. Beware botox face.
Retouch on empty layers. That way, if you make a mistake, you can unpick your edits, bit by bit, in any order without affecting other adjustments. To do this go to the layer file menu (top of your screen) and choose new layer. Tick the “Sample All Layers” box that is top middle of the Photoshop window. This way the changes go across the original image but can be checked on or off whenever you want.
RED EYE TOOL = use the Camera Raw one. It’s better.
CLONE STAMP TOOL = looks just like a stamp. Press and hold Alt/Option key to sample an area, then click to put it somewhere else. Again, add a new layer (click sample both layers) but click on the new layer – highlight it – so that that is the layer you paint the copied image onto. Will come back to look at how to feather these additions in.
SAVING WORK
Save as a TIFF or Photoshop File (huge file size, be warned) so that you can still access edits. The only point of saving to jpeg (which will compress the file and remove any chance to work on individual layer edits) will be when you are happy with the end result and want to send for printing or use on web etc.


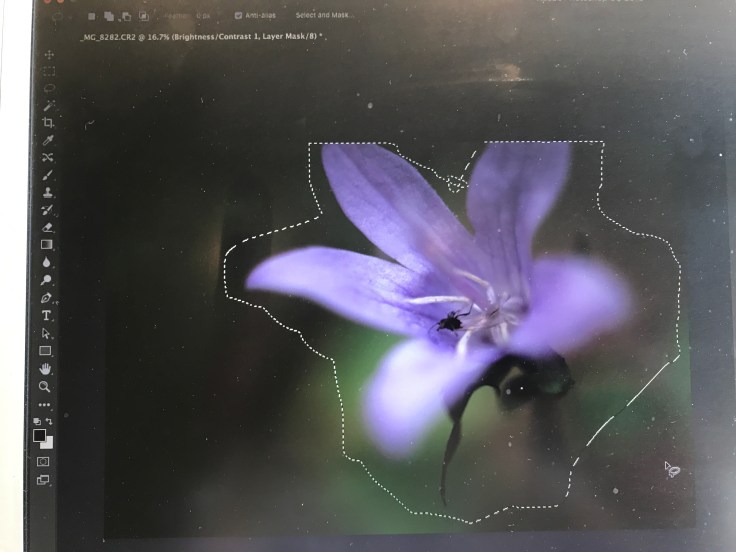
Here’s a shot where I’ve mucked about with the magic wand tool to change the original colour (orange) of certain areas…

Clearly, this is not the definitive guide. I am still trying to get my head around the whole masking application, for starters. I may end up having to do a proper course at this rate.
To be continued…


Leave a comment