Our first lesson focused entirely on the zoom lens and how you can use a wide angle to achieve remarkably different effects.
(All photos on this page were taken in the subsequent week.)
Wide Angle = Zoom Out
- Greater depth of field
- Larger amount of visible information in the background
- Objects appear further away from each other
Typical uses: Landscape; reportage; group photos.


Which all makes perfect sense. However, go in tight on a wide angle – versus simply zooming in – and that’s when the fun starts:
- Distortion occurs.
- Perspective skews.
- Elements in foreground appear larger
- Elements in background appear smaller.
Typical uses: caricatures; fashion/advertising due to the ability to go in “big” on the item you’re promoting (e.g. go in at a v. low angle and that Jimmy Choo heel will dominate the shot.)
Masters of the wide-angle include sports photographer, Bob Martin, and photojournalists, Robert Capa and James Nachtway.
Telephoto = Zoom In
- More exact rendition of what you are seeing.
- Less distortion
- Less information in background
- Less sharpness in background
- Less depth of field
- Main subjects appear closer together
Use when you want a shot that is far more focused on the subject.
Homework for the week was to shoot only on a wide angle and vary the angles we shot from. So get in close; go wide; shoot from below; shoot from above etc.
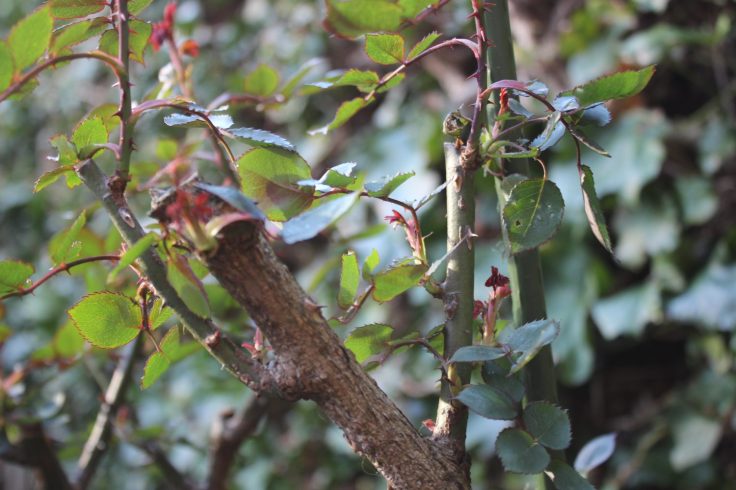
I started off in the garden – I just wanted to explore how moving in closer to the subject on a wide angle would change the image as I hadn’t thought to try it before. This mid-shot and close-up of a rose bush served as a good visual reminder of how just moving closer to your subject can make an enormous difference. I think I must have played around with the focal point, though, as the depth of field is quite shallow.

My garden’s tiny, so opportunities for distortion seemed rather limited, but then I noticed the clothes line and the sun glinting off the houses in the next road. I had to play around with the angle of shot and also how close I was to the subject matter – the clothes pegs – to show the contrast. I quite liked the graphic nature of the pegs in shadow but then decided to use the flash (something I hadn’t though to use when shooting outdoors in daylight), and that lifted the final few shots and gave me the effect I was looking for.


And while the first of these two next shots is incredibly dull and poorly framed, I wanted it as a contrast to the second one, which has the wire animals dominating the shot due to the skewed perspective and a shortened depth of field.

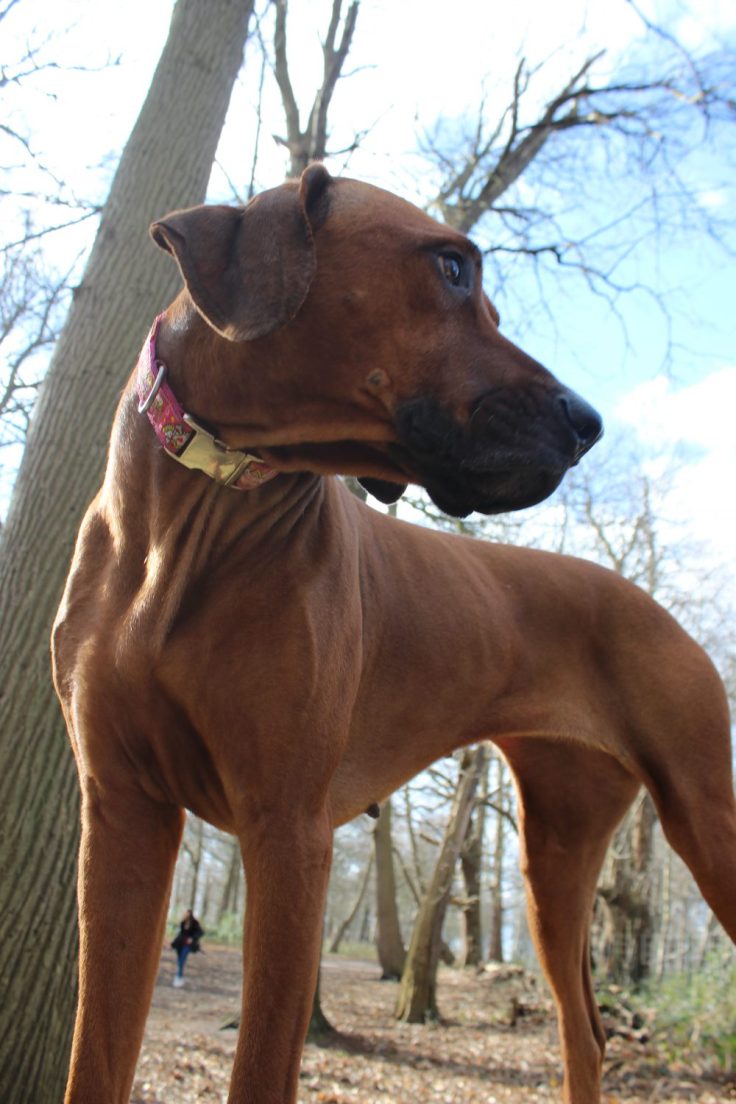
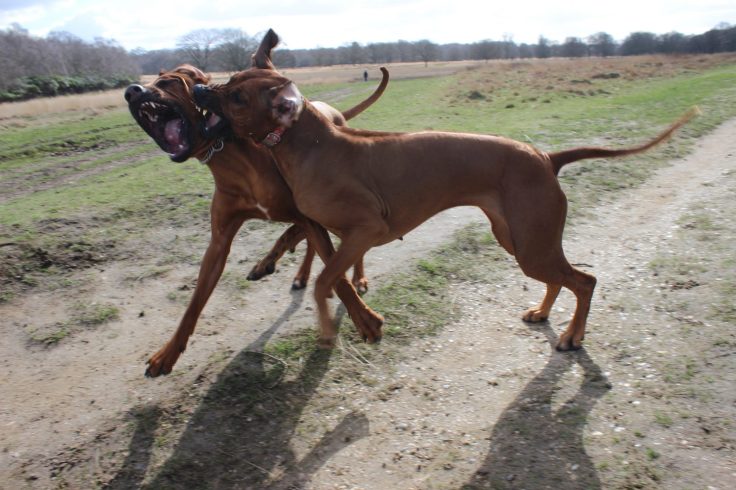
I have had this camera for more than two years, but I’ve never taken it with me when I walk the dog. My list of excuses were many: “Too many other things things to carry, I’ve got an iPhone, I need my hands free so that I can grab the dog if she sees a deer…” etc. etc. Shameful, really. But having homework meant I now had no option. I wanted to get some action shots of the dogs playing – which is fine when you have some distance between you and them, but makes close-ups a bit risky as the dogs weigh around 40kg; whirl around like dervishes and have no concept of personal space. Still, I managed to get some good shots without coming a cropper. The mid-shots (I couldn’t go any closer as I would have been sent flying) worked far better than the wides – even if, sometimes, I didn’t manage to get all the dog into the shot or the shots were a bit soft. The wides failed to convey the energy and speed of the dogs as they played – so that’s something I need to find a solution to and to work on.


I also explored trying to skew the perspective; using the W/A for close-ups and changing the focal point (using both manual and auto-focus).


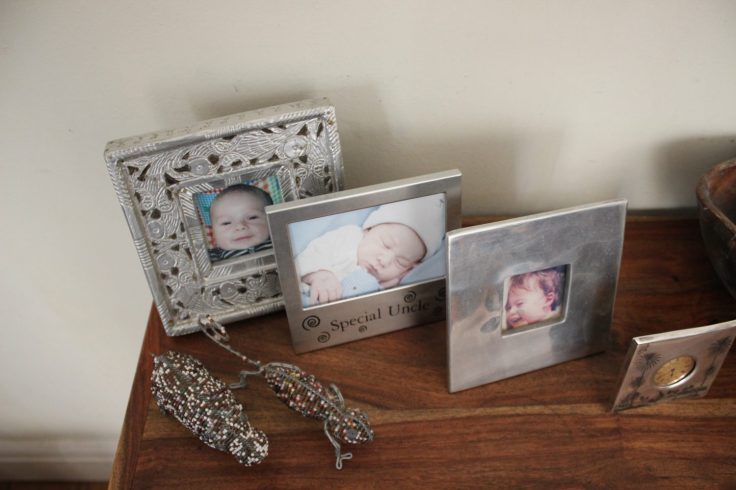
Later, I shot some indoor scenes of kids baking and a friend and her newborn baby. Again, the idea was to play around with perspective a little – some shots worked better than others. I think this was down to the focal point chosen.


Finally, I worked on some still lifes: a lava lamp and a blue chair. It was interesting to see how, by just moving myself versus zooming in, I could alter the subjects’ dimensions and distort how they dominated their surroundings – be that a fireplace or the street beyond the window.
AN AFTERNOON WITH THE THREE BEARS…


THEY WALK AMONG US


If I take just one thing from this week’s lesson, it is that you cannot just observe if you want to take interesting photographs. You need to MOVE, get out of your comfort zone, breach other people’s comfort zones and, sometimes, just ignore the mud and get down and dirty and lie on the floor…


Unit 1 1.1 1.5 2.3 2.4 2.5 2.6
LikeLike